
Crust: You can buy a homemade crust or you can make your own. I made a graham cracker one.
1 package of graham crackers (3 come in a box )
3 Tbs of Butter 1 Tbs of Sugar (or powered sugar)
2 Medium bananas (sliced)
Splash of lemon juice
Pie Filling:
3 Tbs of Cornstarch
1 1/3 cup of water
1 can of sweetened condensed milk
3 egg yolks
3 Tbs of butter
1/2 tsp of vanilla
1/2 tsp of coconut extract
1 C. of Sweetened Coconut
Creamy Topping :
1 Pint of Heavy Whipping Cream
3 Tbs of sugar (or powdered Sugar)
1 1/2 Tsp coconut extract
1/2 C. Toasted Coconut (simply place in a nonstick pan and stir over med heat till toasted)
First thing, go ahead and make that crust, or unwrap it. I love things homemade. Makes me feel like I have accomplished something....yea,yea I know. Most likely this cost me more money and more time, but hey......makes me feel like I should be back in the 1950s. Waiting on my husband to come home from work with my awesome looking pie waiting in the window seal. The whole " Hi, honey, I'm home!! " bit. Ok back to the crust. I crushed graham crackers, added sugar, and melted butter and built my crust. Slice the bananas and splash them with some lemon juice. This keeps them from browning and adds a little tangy. Let set for just a few minutes then drain. Line the bottom of your crust with those cute bananas. Now is here is where I thought.....that just maybe, adding some crushed pineapple.....maybe a little pina colada pie?? Maybe next time.
Now to the filling. Add your starch and water in a heavy medium size sauce pan. Dissolve well. Turn on medium heat. I used a whisk during the rest of this process. Now add your 3 eggs yolks and sweetened condensed milk. I looked at buying the fat free condensed milk and believe it or not it had more sugar! So I went with the regular. I mean if you are going to go out, go all out!
Do NOT leave this pot! I mean it. I did and I almost ruined it! So now stir, not really constantly , but often. You are waiting on it to get thick and bubbly...........this takes some time. Do not be tempted to turn up the heat though. It will burn and scorch it. But when you get there, remove it from heat. It will be a thick like pudding. Now add your butter and extracts. Let this cool a little. Leave it sitting for maybe 20 mins. Then fold in the coconut.
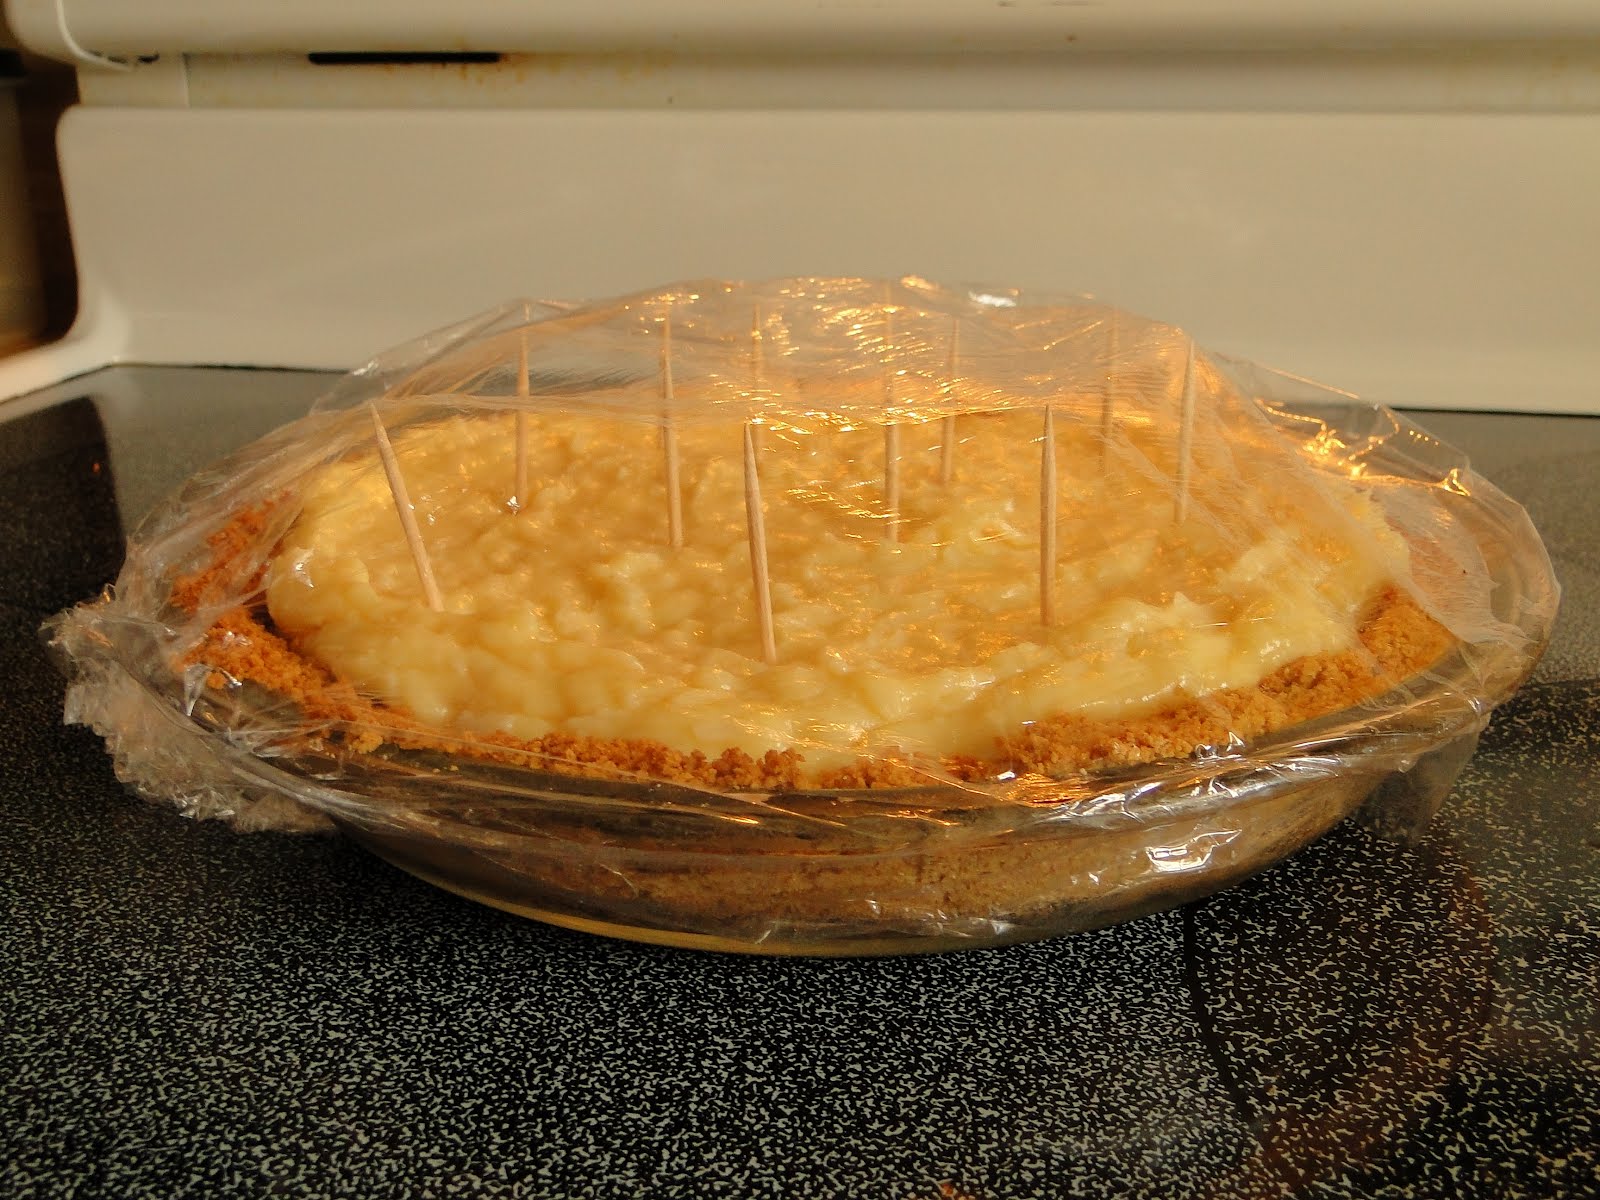
Let this cool down before adding to your crust. I put mine in the fridge until completely cool. Once cooled. You will want pour this on your crust. Well its kinda thick and doesn't really "pour". Get out that pasty bag! Or a large zip lock bag. If using a pastry bag, clip the end with a clothes pin before filling...if not it will be a handful trying to keep it pinched. Also You can set it down in a large cup to help hold it upright while you are filling it. Now fill it up and then poor over the crust. This way, your crust isn't disturbed. No tip needed, just let it flow out of the bag. I started in the middle and worked my way out. Leave about and inch from the side. Now add toothpicks and cover with clear wrap...this will keep a skin from forming. Now the hard part........place in fridge for several hours! You at least want 4 hrs to set. I know...this part stinks.....I was up all night thinking of this pie. But the more time it has to "set" the better it is!


Pour in your heavy cream in your now really cold bowl. Whisk until it turns thick and fluffy, then add your sugar. I used powdered sugar...seems to me that it will dissolve faster and keeps the cream fluffy. Also add in your extract. You can do this to taste too. You may wont more and less. So add a little and taste......awwww I know tough job having to test taste that cream huh?! Mine, had to be tested SEVERAL times....hint hint!! Pastry bag time again! I did use a tip this time. But its not necessary since you will be covering the top with toasted coconut. That's up to you. Use the same technique as before. Load up that pie and top with the toasted coconut! Now you can enjoy this now, or for an easier cutting pie, I suggest letting it set for at least an hour. But again, you are the cook, so you get to call the shots!


No comments:
Post a Comment